Mission Editor Cutscenes Tutorial
Basics[edit]
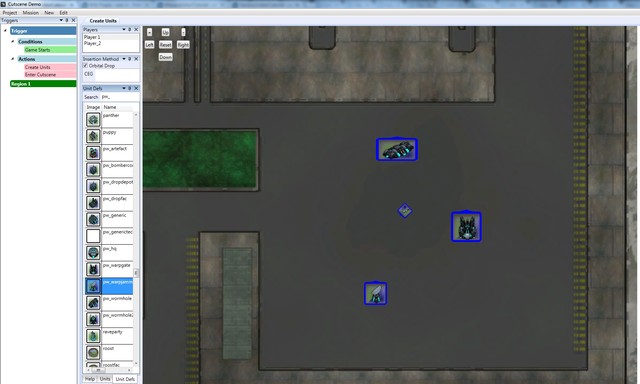
Start a new mission, and place some units around.
Add an Enter Cutscene action - this will add a letterbox, hide unwanted UI elements, and lock out the player's controls. Leave it non-instant for now.
Before doing anything with the camera, add a Save Camera State action. This will allow us to restore the camera to its original position later.
Add a two-second Wait, then a Fade Out action to have the screen fade to black. Wait two more seconds, then Add a Point Camera at Map Location action to center the camera on our units, and Fade In from black,
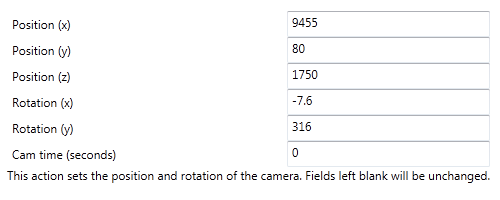
Now add a Set Camera Position/Direction trigger. (To get the correct values for this, you may want to go ingame and position your camera, then press F10 to print camera position/rotation to console). Set the time to zero, making the transition instantaneous. Wait two more seconds for the fade in animation.
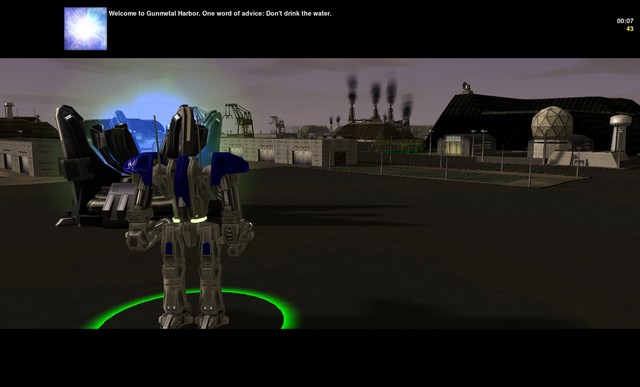
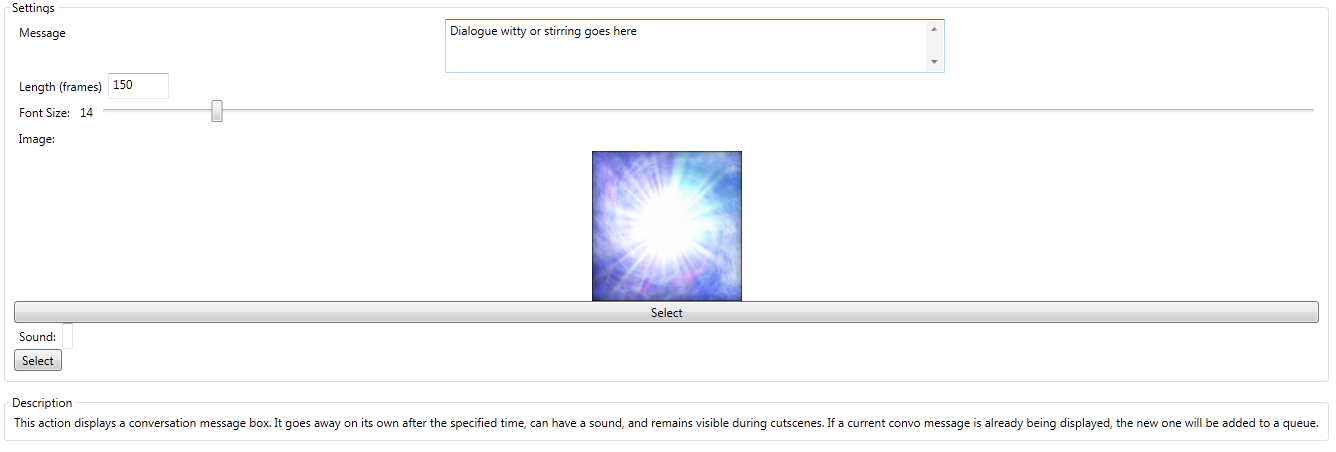
Noticed the dialogue in the screenshot? To do that, add a Show Convo Message action:
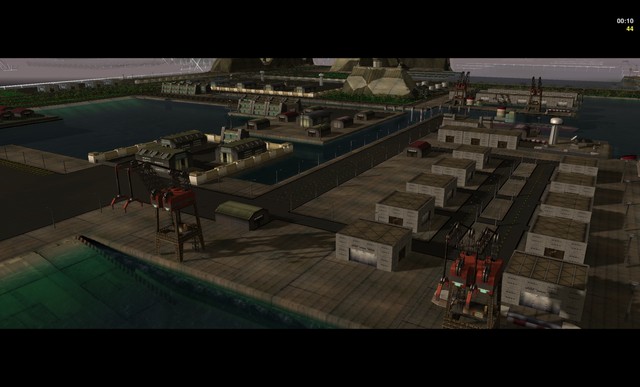
Let's try animating the camera a bit. Wait for the dialogue to finish, then add another Set Camera Position/Direction action, this one with a 16-second timer. Have it pan out to get a view of the scenery. Wait ten seconds afterwards (yes, the cam time needs to be longer than the wait time). Note how the camera starts out fast and slows down as it approaches the destination.
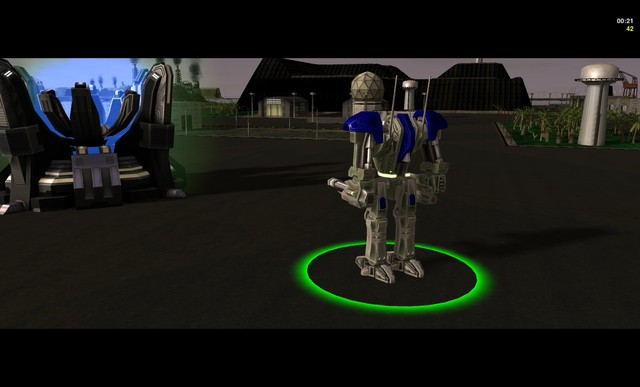
Let's try one more thing. Use the Beauty Shot action, targeting the commander (you'll need to go back and give it a unit group first). You can leave the default settings, or tinker with them.
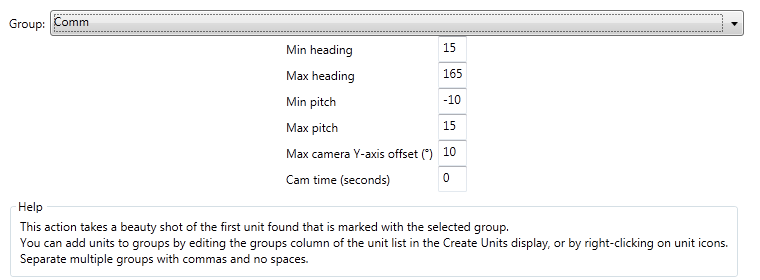
Notice we specify what to look at and where to look from (randomized), but not the position or direction of the camera itself. This action is particularly useful when you don't know the target unit's position/facing in advance.
Wait a few more seconds. Once you're done, Leave Cutscene. Remember to Restore Camera State to get the player's camera back to the way it was.
Skipping cutscenes[edit]
Cutscenes can be set to be skippable with Space.
Give your cutscene an ID in the Enter Cutscene action.
Make another trigger with the Cutscene Skipped condition, and set the ID to the same as the ID you want to skip. Give this trigger the actions that should be done when the cutscene is skipped. Use the Cancel Cutscene Actions action in the skipping trigger to stop all the actions in the trigger where the cutscene was started.
To make sure things are only done once (e.g. spawning units), you can put the relevant actions in their own trigger, and execute it from both the cutscene and cutscene-skipped triggers.
Tips and tricks[edit]
- You can queue up a bunch of Convo Messages at once and they'll play in sequence.
- If you have two Set Camera Position/Direction triggers in a row, you may find that it proceeds straight to the second position even if the first transition is instant. To work around this, add a brief wait (say 0.1 seconds) between the two actions.
- Don't get carried away with cutscenes. They're just one storytelling tool of many, and long cutscenes (especially unskippable ones) annoy players.
